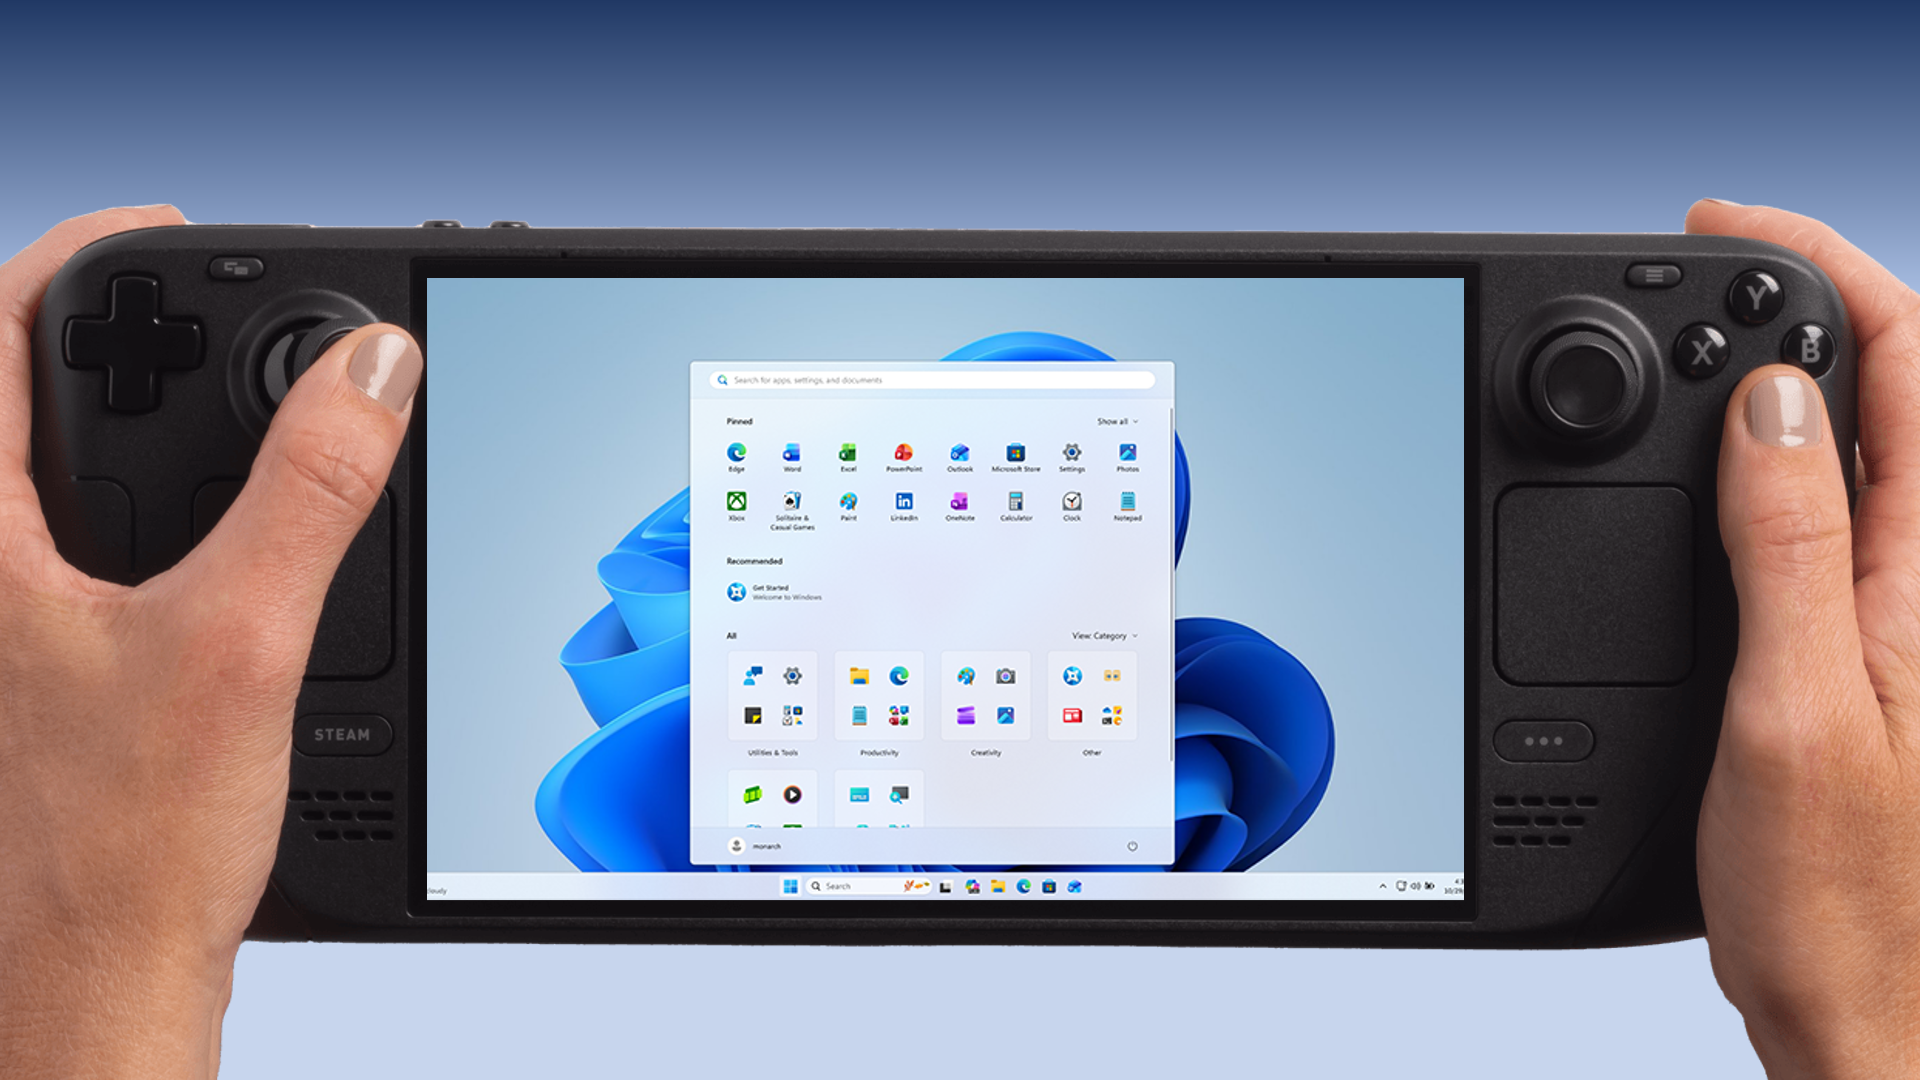
Install Xbox Cloud Gaming (Game Pass) on Steam Deck
A quick and easy way to enable Xbox Cloud Gaming on your Steam Deck, allowing you to play Game Pass Ultimate titles without installing Windows.
📌 Key Takeaways
- Cloud Streaming: Games are streamed over the internet, so a high-speed Wi-Fi connection (5GHz recommended) is essential.
- SteamOS Native: This method uses Microsoft Edge within SteamOS; you do not need to dual-boot Windows.
- Subscription Required: At the time of writing, the following subscriptions include access to Xbox Cloud Gaming:
- Xbox Game Pass Ultimate
- Xbox Game Pass Premium (where available)
- Xbox Game Pass Essential (where available)
Please note that PC Game Pass does not include Cloud Gaming. For the most current plan features, check the Xbox Game Pass comparison page.
You will need the artwork assets to make the shortcut look official in your Steam Library:
Xbox Cloud Gaming Icons/ArtworkStep 1: Preparation & Desktop Mode
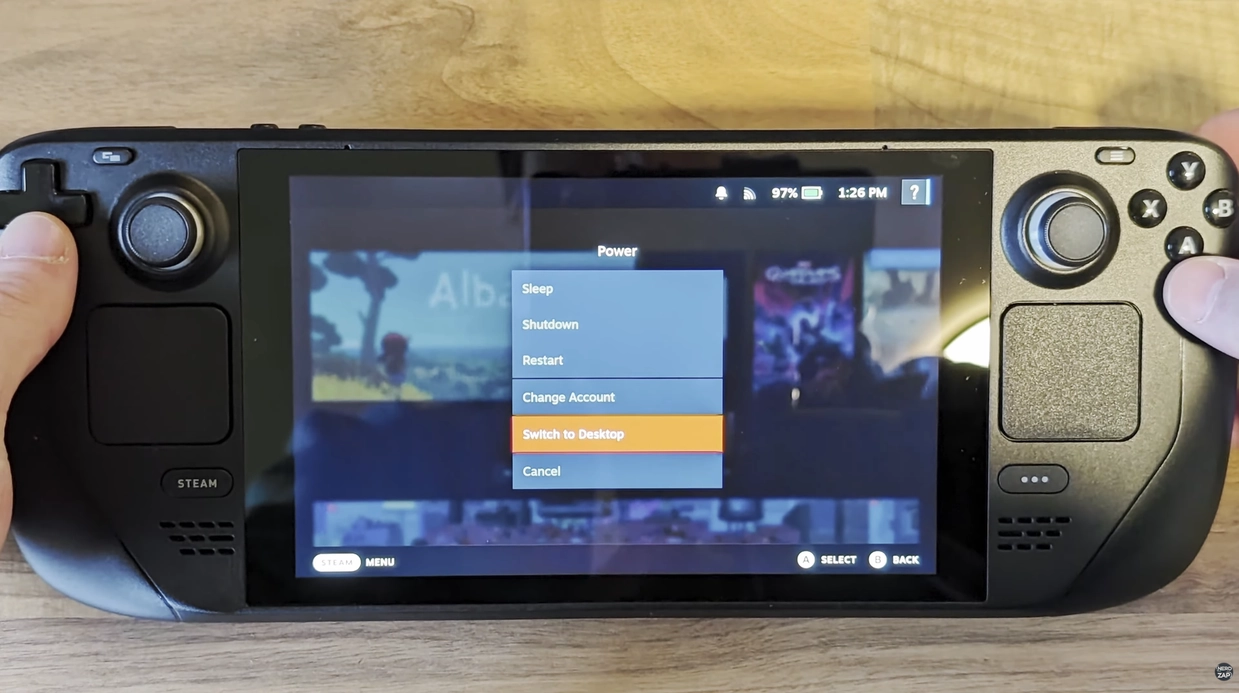
To set this up, we need to access the Linux desktop environment.
- Press the Steam Button, go to Power, and select Switch to Desktop.
- Once in Desktop mode, you can use the trackpads as a mouse.
Tip: You can bring up the on-screen keyboard by holding Steam + X, though connecting a physical keyboard and mouse is recommended for this guide.
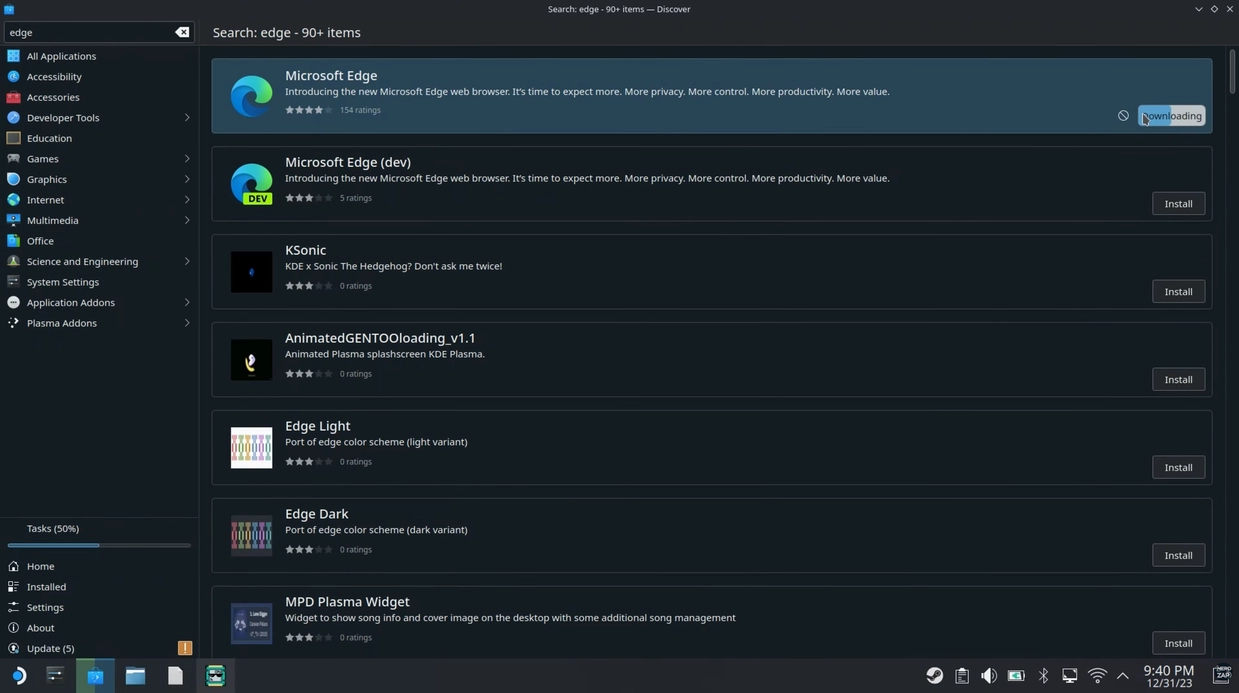
Step 2: Install Microsoft Edge
We will use the Microsoft Edge browser to run the Xbox Cloud Gaming interface.
- Open the Discover Store (shopping bag icon on the taskbar).
- Search for Microsoft Edge.
- Click Install.
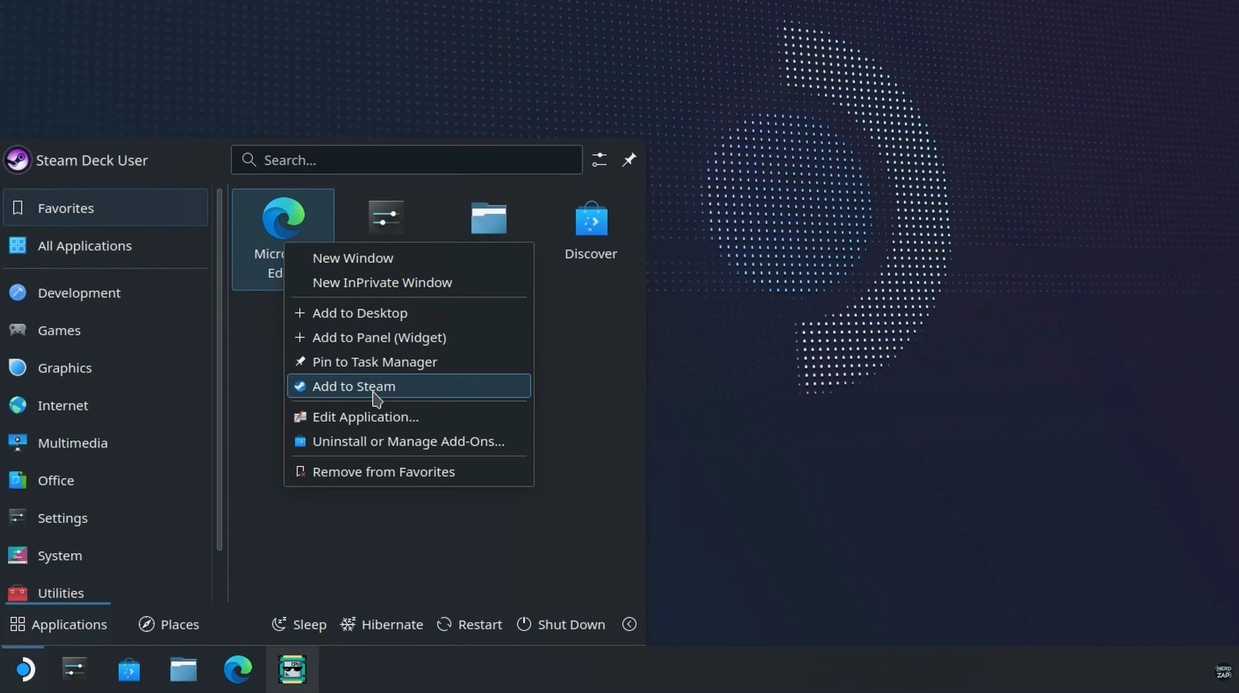
- Once installed, open the Application Launcher (bottom left logo).
- Right-click Microsoft Edge and select Add to Steam.
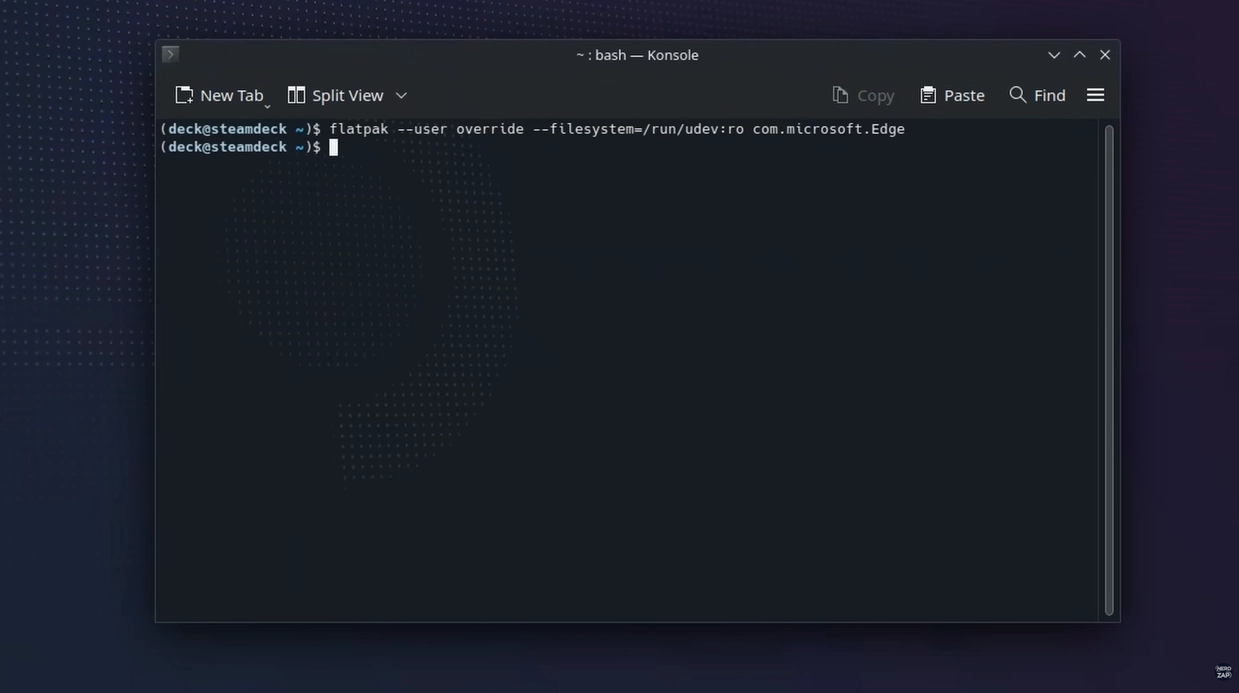
Step 3: Grant Controller Access
For the Steam Deck controls to work properly within the browser, we need to grant specific permissions via the terminal.
- Open the Application Launcher.
- Search for and open Konsole (System Console).
- Enter the following command exactly as written and press Enter:
You can close Konsole after pressing Enter; it will not provide a success message, which is normal.
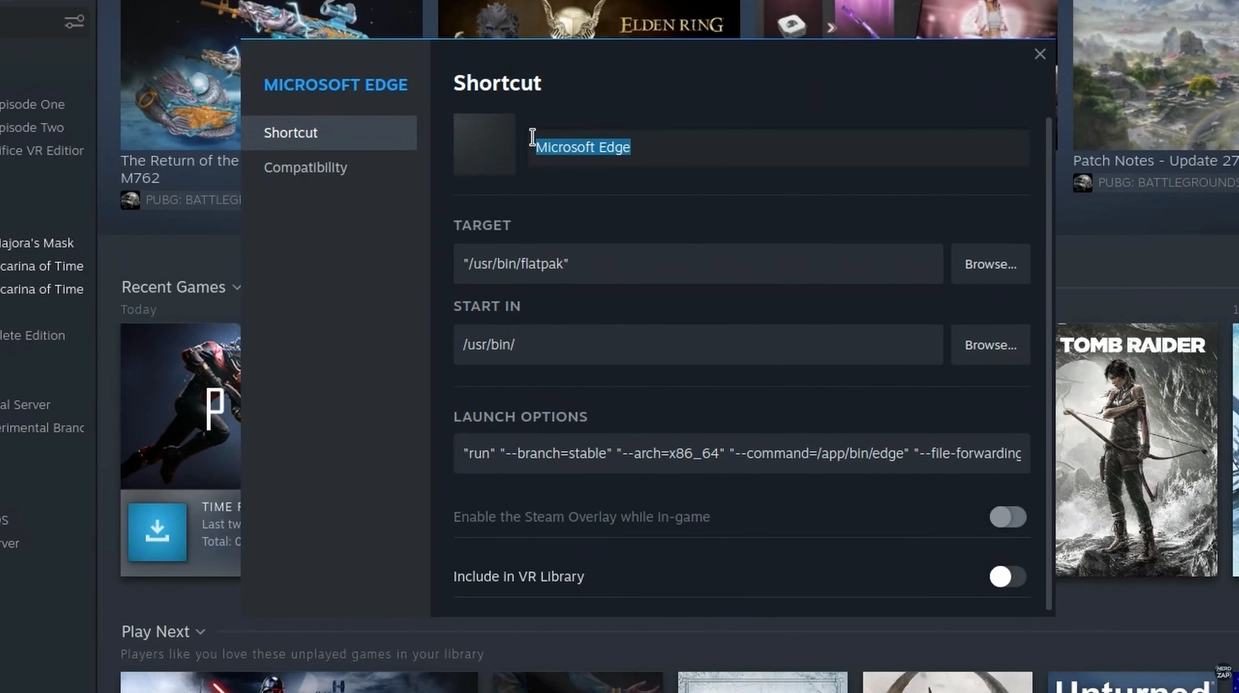
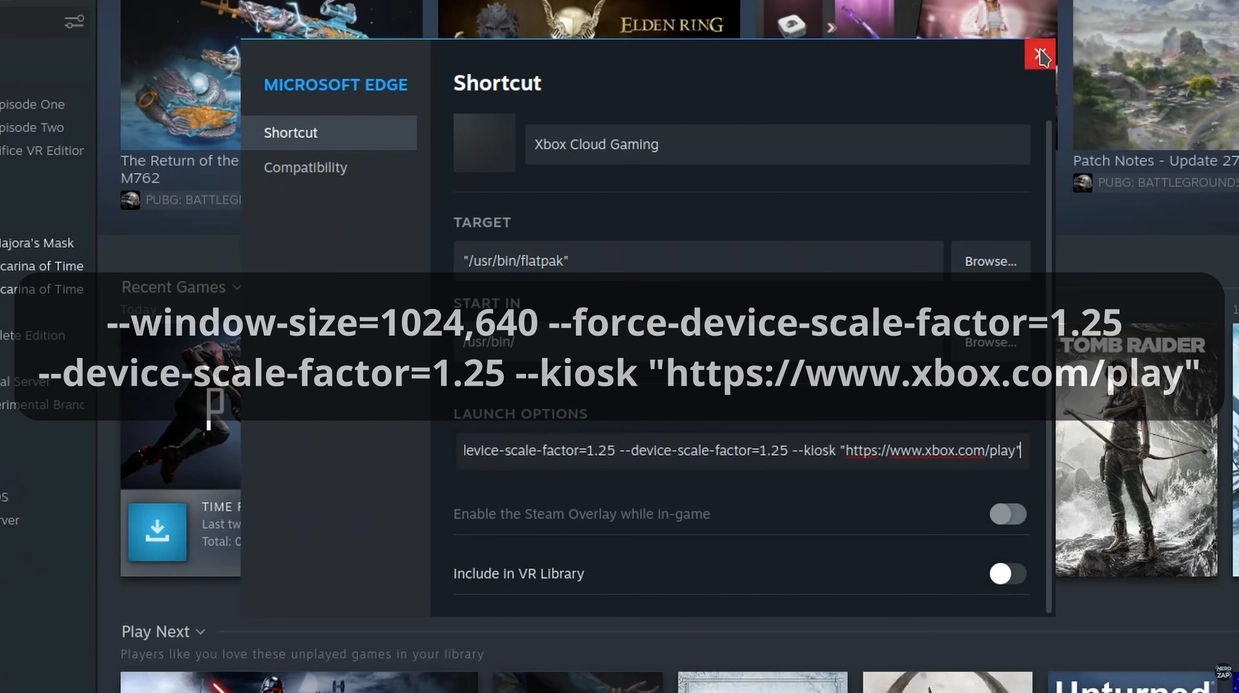
Step 4: Configure Launch Options
Now we need to tell Steam to launch Edge in "Kiosk Mode" directly to the Xbox website.
- Open the Steam desktop application.
- Locate Microsoft Edge in your library (under the "Non-Steam" category).
- Right-click it and select Properties.
- Change the shortcut name from "Microsoft Edge" to Xbox Cloud Gaming.
- Scroll down to Launch Options.
⚠️ Important: Do not delete the existing text. Add a space after the existing code, then paste the following:
For reference, the entire Launch Options line should look similar to this:
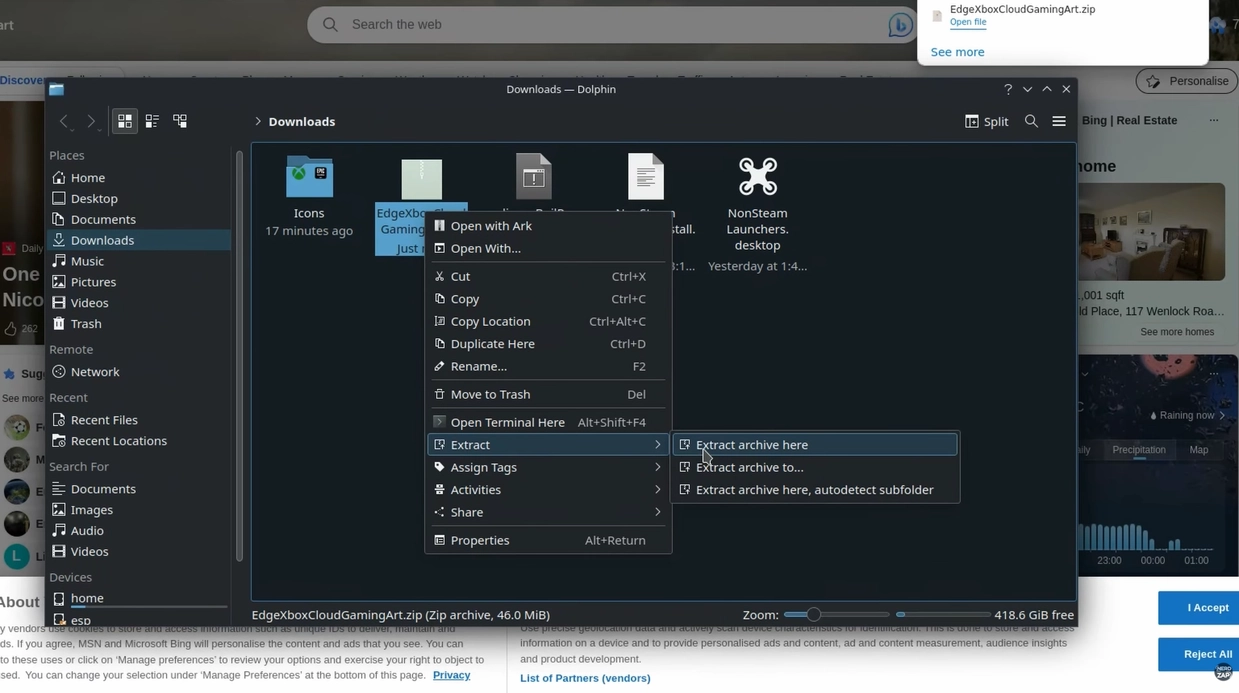
Step 5: Set Custom Artwork (Optional)
To make the shortcut look great in your library, download the artwork from the Downloads section above and extract the zip folder.
Set Banner
- In Steam, click on your new Xbox Cloud Gaming shortcut so the background banner is visible.
- Right-click the empty background space > Set Custom Background.
- Select the Xbox Cloud Banner file from your extracted folder.

Set Icon
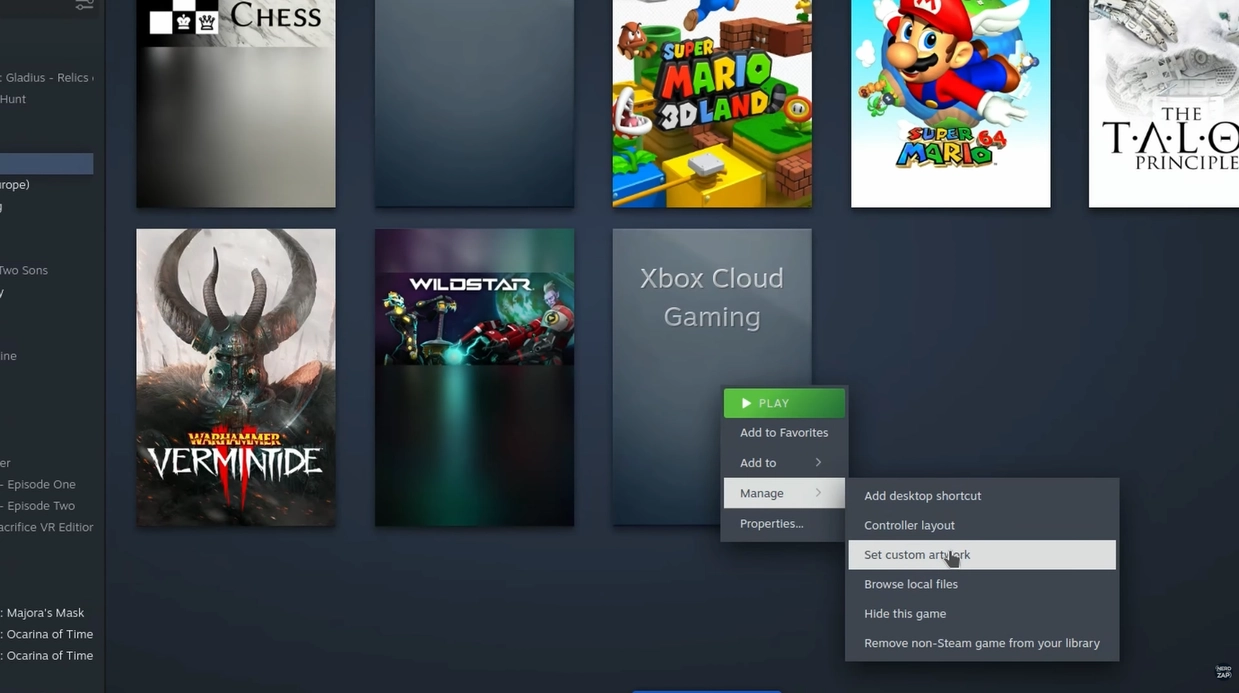
- Return to your Library view.
- Right-click the Xbox Cloud Gaming box.
- Select Manage > Set custom artwork.
- Select the vertical capsule image.
Step 6: Final Configuration & Play
We are done in Desktop Mode. Return to Gaming Mode (shortcut on the desktop).
- Go to your Library and navigate to the Non-Steam tab.
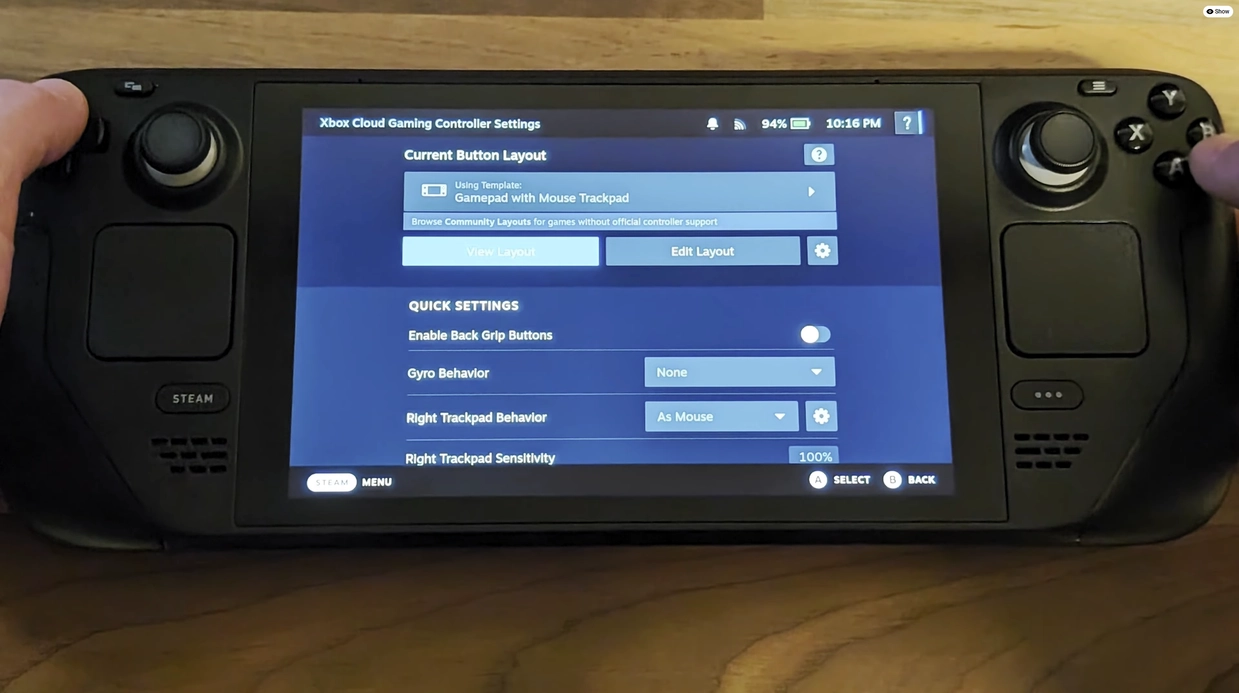
- Select Xbox Cloud Gaming.
- Before launching, tap the Controller icon.
- Ensure the layout is set to Gamepad with Mouse Trackpad.
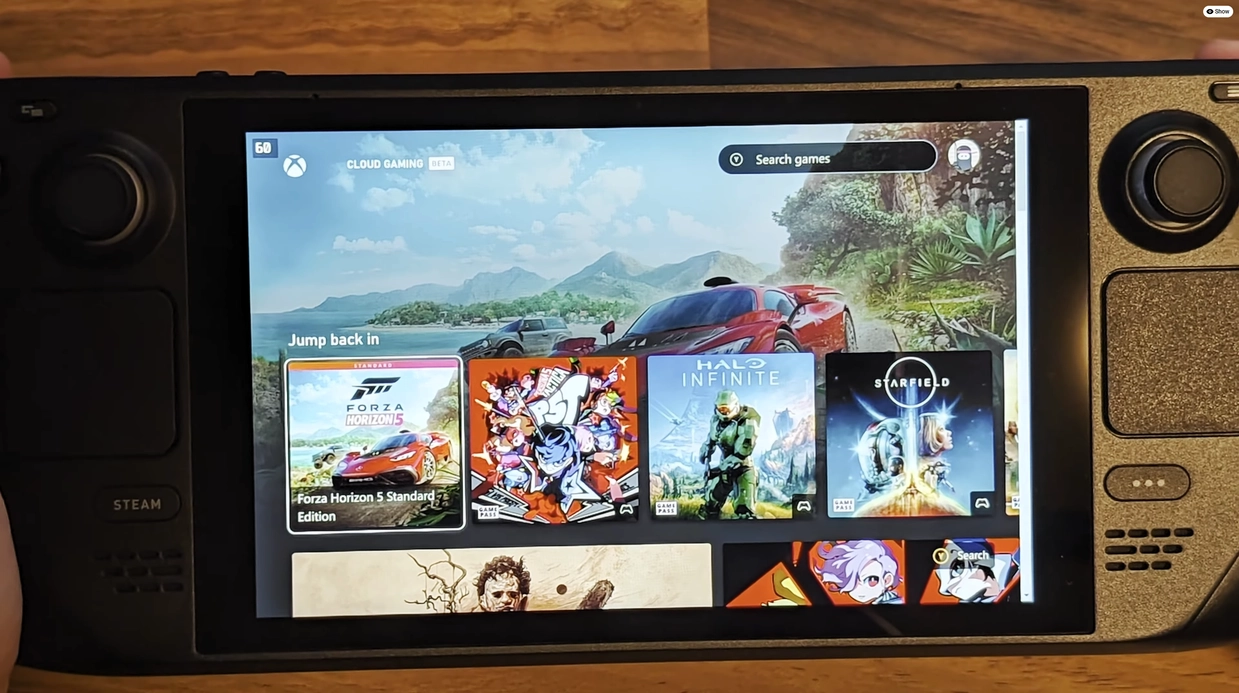
Launch the app, sign in with your Microsoft account, and you are ready to play!
Found this guide helpful?
Support the channel to help me create more tools and guides!