The Ultimate Windows 11 Debloat Guide
Windows 11 is known for being somewhat "bloated." Whether it's the stack of pre-installed apps nobody uses, background telemetry, or resource-heavy features like Copilot, a clean setup is essential for gaming performance.
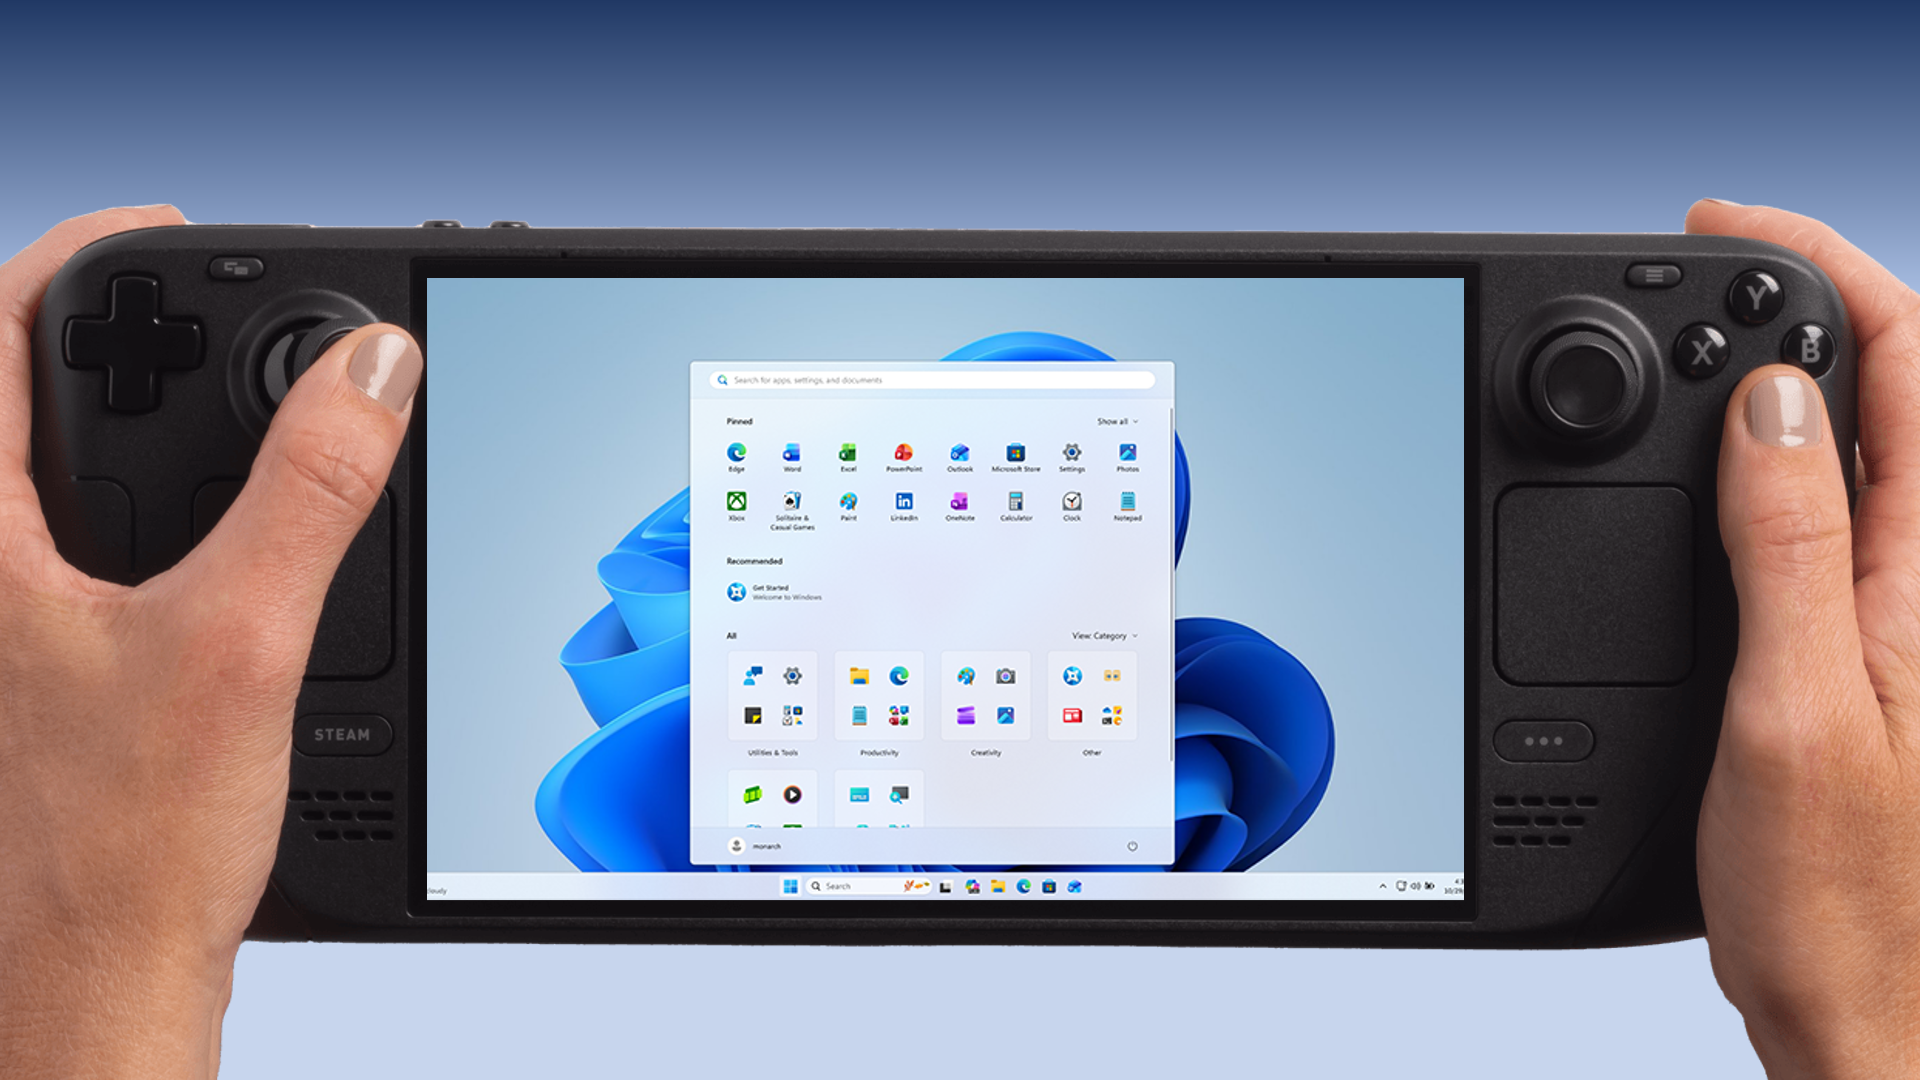
This guide will show you a simple, reversible method to debloat Windows 11. While demonstrated on a Steam Deck, this works perfectly for any Windows 11 PC to squeeze out extra performance and battery life.
📌 Key Takeaways
- Boost Performance: Frees up RAM and CPU resources by removing background processes.
- Remove Bloatware: Automatically uninstalls useless pre-installed apps in one go.
- Disable Telemetry: Stops Windows from collecting diagnostic data and tracking usage.
- Safe & Reversible: The script is well-maintained, and changes can be reverted if needed.
You will need the following script for this guide:
Raphire Win11Debloat Script (GitHub) How to Revert ChangesStep 1: Create a System Restore Point
⚠️ Critical Step: Before running any debloat script, you must create a backup or restore point. This allows you to undo changes if anything goes wrong.
- Open the Start Menu and search for "Create a restore point".
- Click the result to open System Properties.
- Select your system drive (usually C:) and click Create.
- Name the restore point (e.g., "Pre-Debloat") and click Create again.

Step 2: Run the Debloat Script
We will use the Win11Debloat script by Raphire. It is open-source and highly configurable.
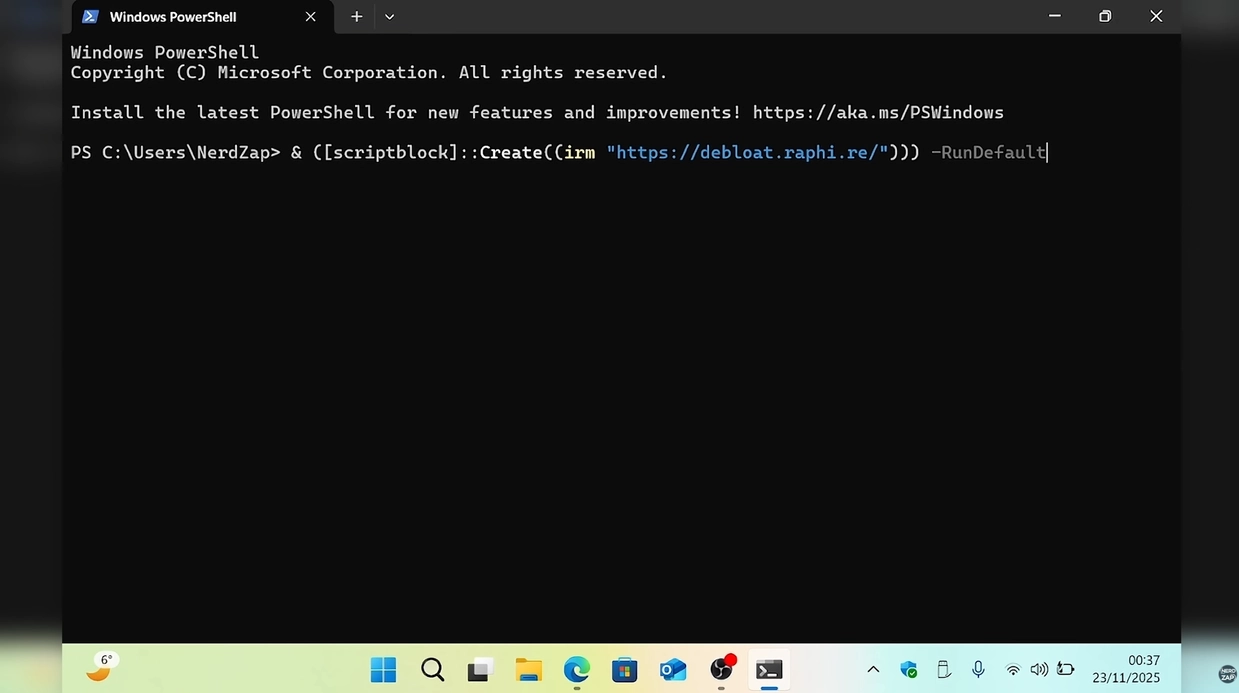
- Right-click the Start Menu and select Terminal (Admin) or PowerShell (Admin).
- Copy and paste the following command into the window and press Enter:
This command downloads the script directly from the official repository and launches the menu interface.
Step 3: Choose Your Debloat Mode
Once the script loads, you will see a menu with several options. You can choose how aggressive you want the cleanup to be.
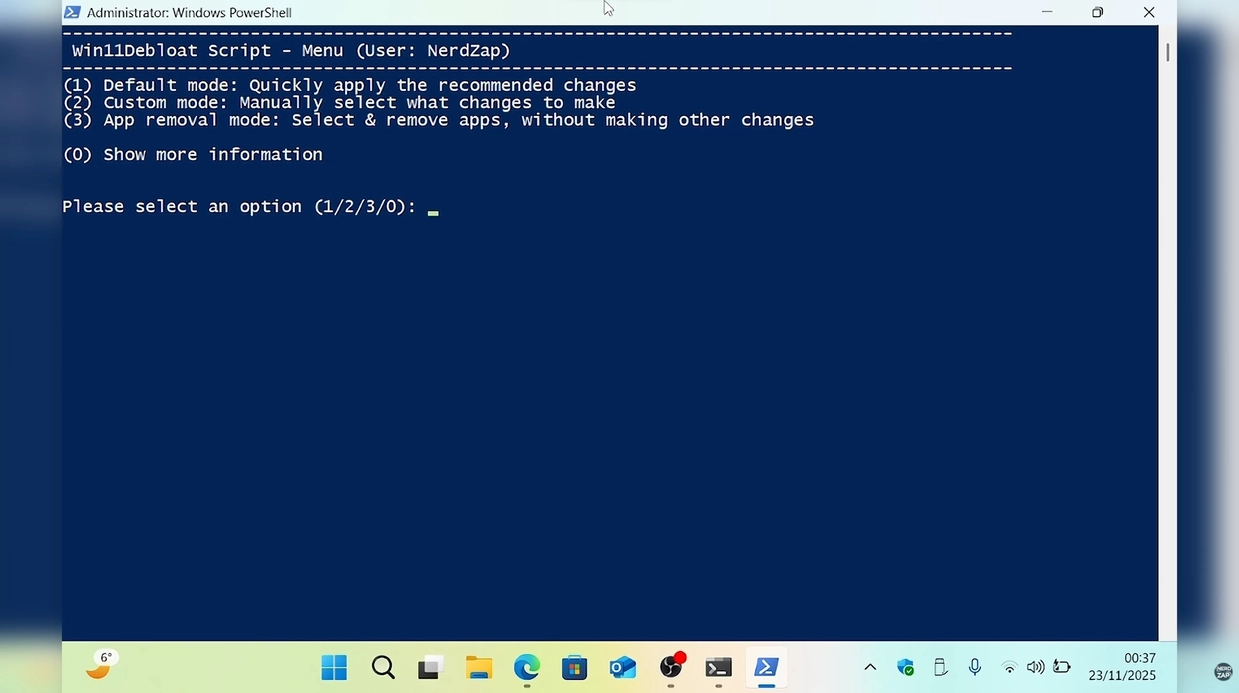
Option 1: Default Mode (Recommended)
Type 1 and press Enter to use the Default settings. This is safe for most users and will:
- Remove common bloatware apps.
- Disable telemetry and diagnostic data.
- Remove Bing search and Copilot integration.
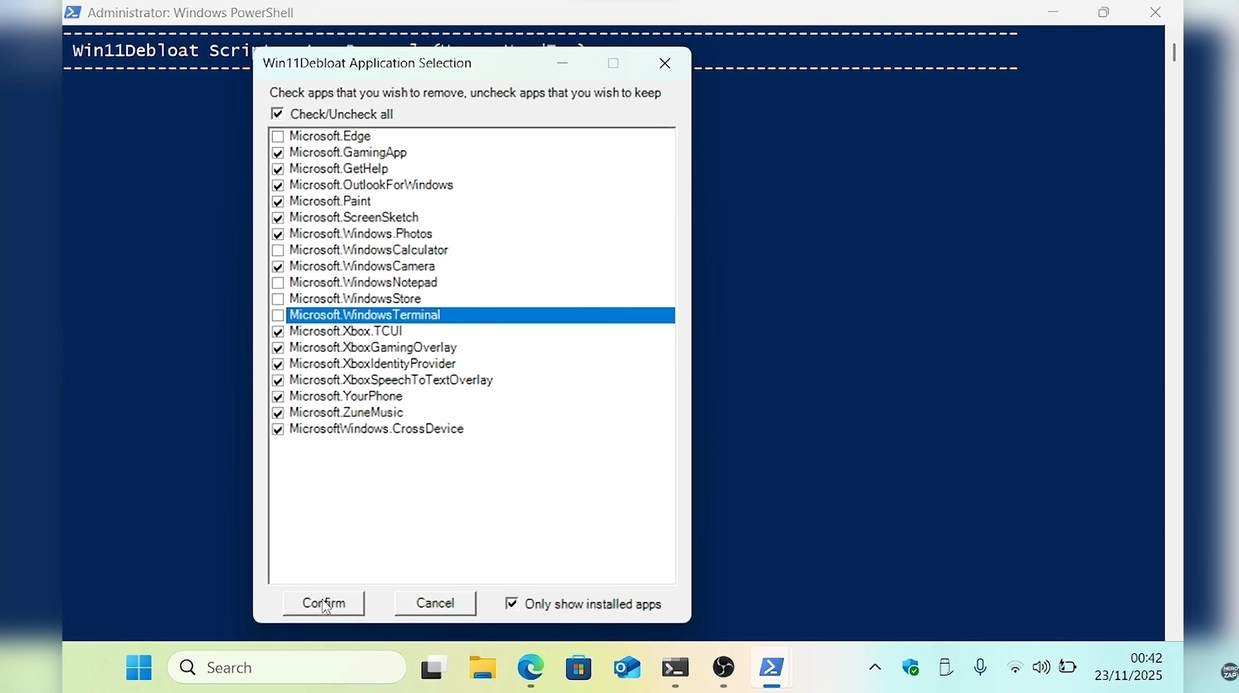
Option 3: Custom Mode
If you want more control (e.g., you want to keep specific apps like Microsoft Edge), select Option 3.
- Type
3and press Enter. - A list of apps will appear. Uncheck the apps you want to keep (or check the ones you want to remove, depending on the view selected).
- Confirm your selection to proceed.
The script will now run automatically. It typically takes a few minutes to complete.
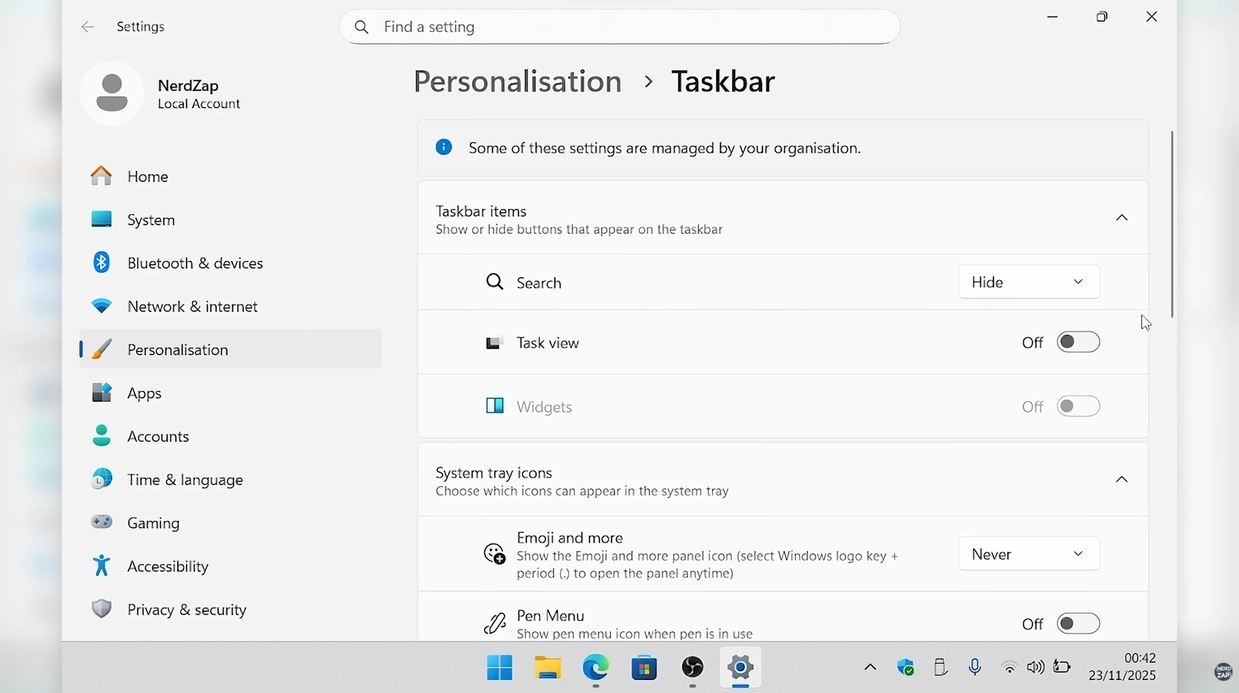
Step 4: Post-Debloat Tweaks (Optional)
For an even cleaner "minimalist" feel and slightly more resource savings, you can apply a few manual tweaks:
- Solid Color Background: Switching from a wallpaper image to a solid color can save a small amount of memory. Go to Settings > Personalization > Background.
- Taskbar Alignment: If you prefer the classic Windows look, go to Settings > Personalization > Taskbar > Taskbar behaviors and set alignment to Left.
- Visual Effects: Turn off unnecessary animations in Settings > Accessibility > Visual effects.
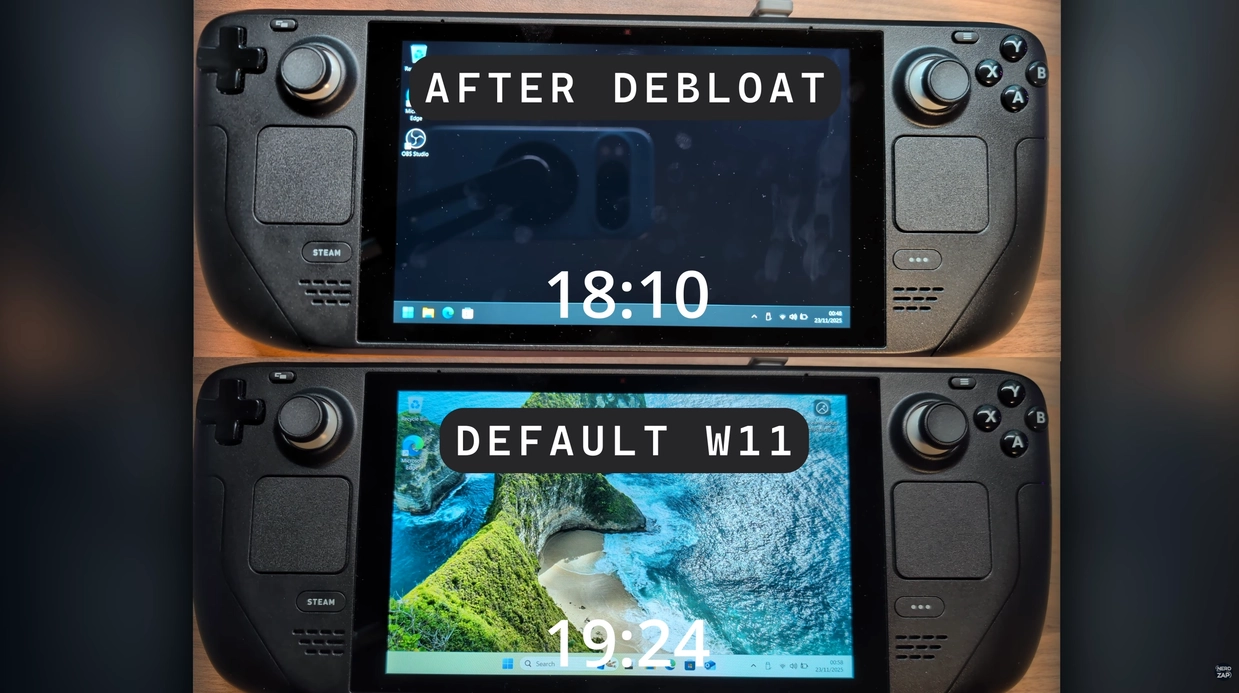
Step 5: The Results
After a restart, you should notice a cleaner Start menu and potentially faster boot times. In our testing on the Steam Deck:
- Boot Time: Improved by approximately 1 second.
- RAM Usage: Reduced by nearly 800MB at idle.
- CPU Usage: Lower background activity.
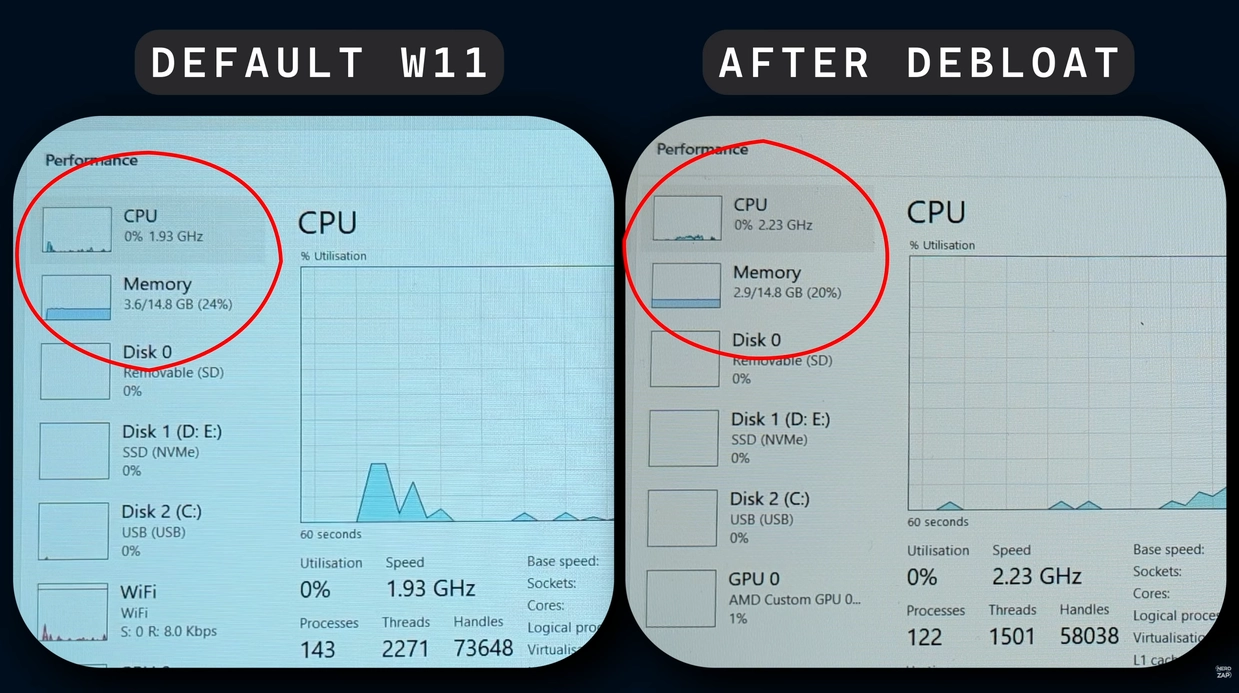
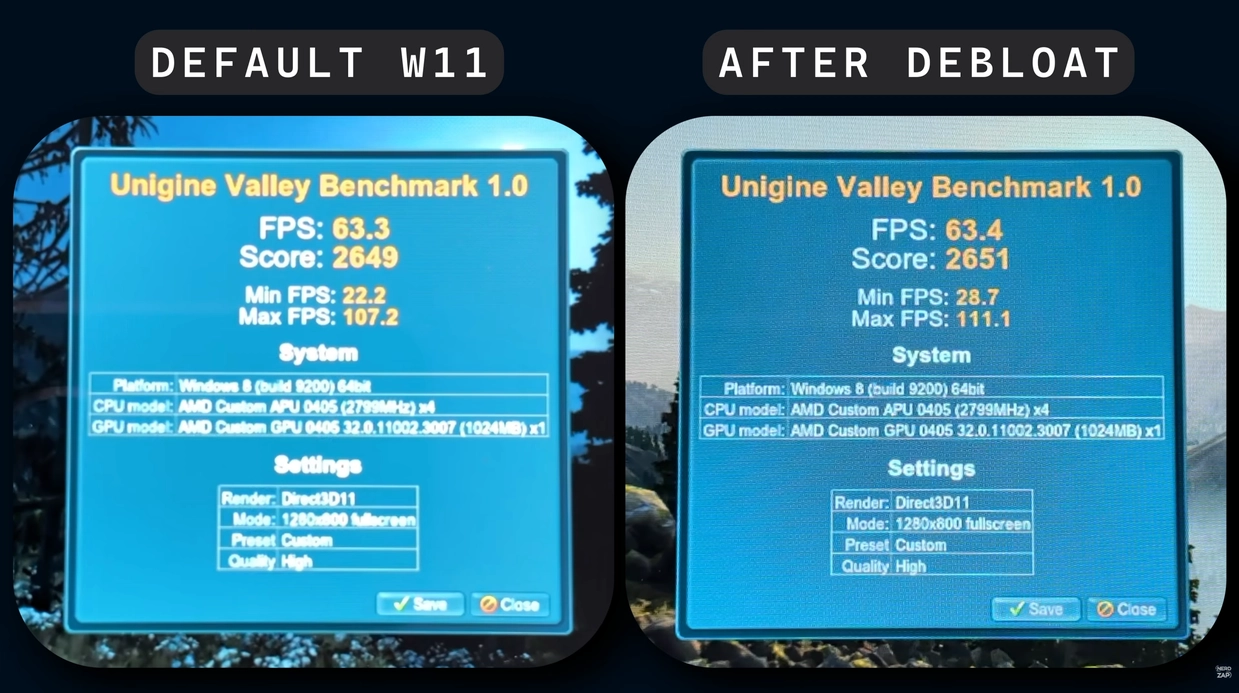
While this won't double your gaming FPS, the reduced memory overhead is excellent for devices like the Steam Deck or lower-end laptops, leaving more resources available for your games.
Found this guide helpful?
Support the channel to help me create more tools and guides!